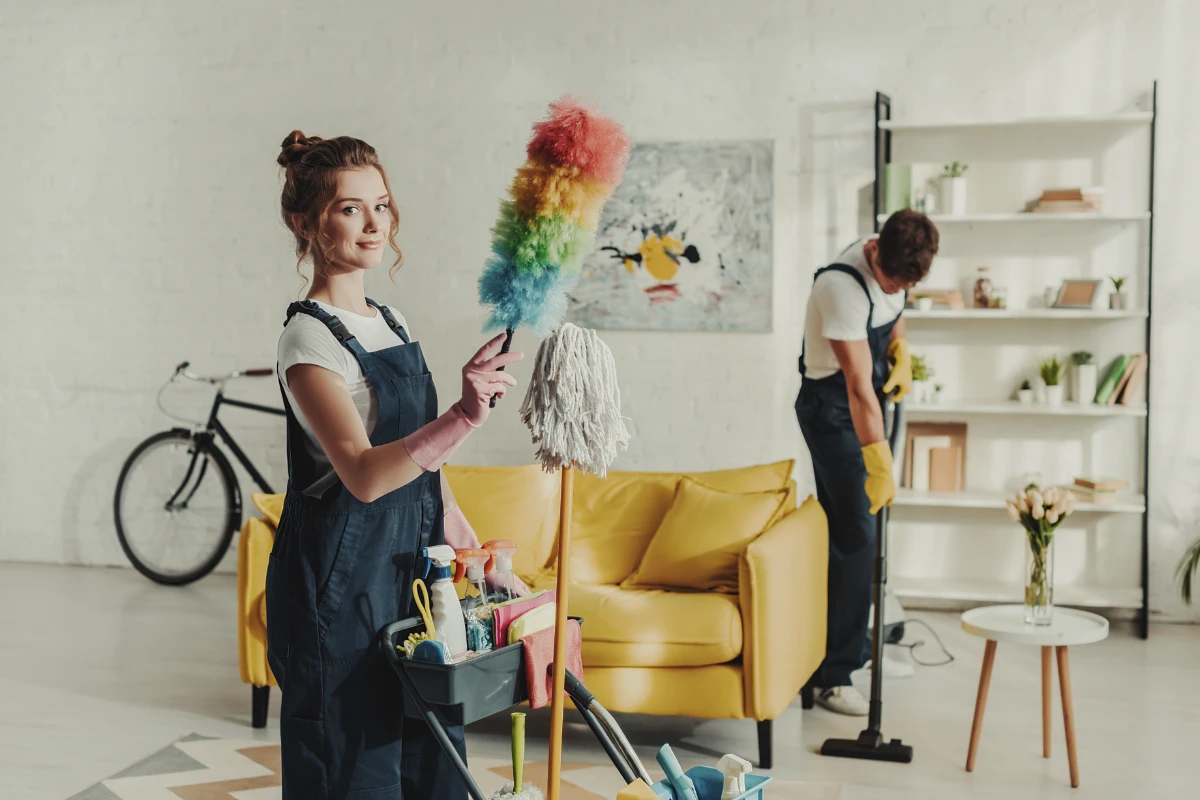
Spring brings new beginnings, and there’s no better way to embrace the season than with a thoroughly cleaned home. If you’re feeling overwhelmed by the idea of tackling your entire living space, you’re not alone. Many first-time homeowners and renters find the concept of a comprehensive spring cleaning daunting, but with the right approach, it becomes manageable even for beginners.
Bonus: Scroll down for a handy Spring Cleaning Checklist printable!

This spring cleaning checklist breaks down the process room by room, giving you a systematic approach that turns an overwhelming project into a series of achievable tasks. By following our first-gear approach, you’ll learn the foundations of home cleaning that will serve you for years to come.
Let’s prepare you for a successful home reset that will leave you feeling accomplished and your space feeling refreshed.
Getting Prepared: Essential Supplies
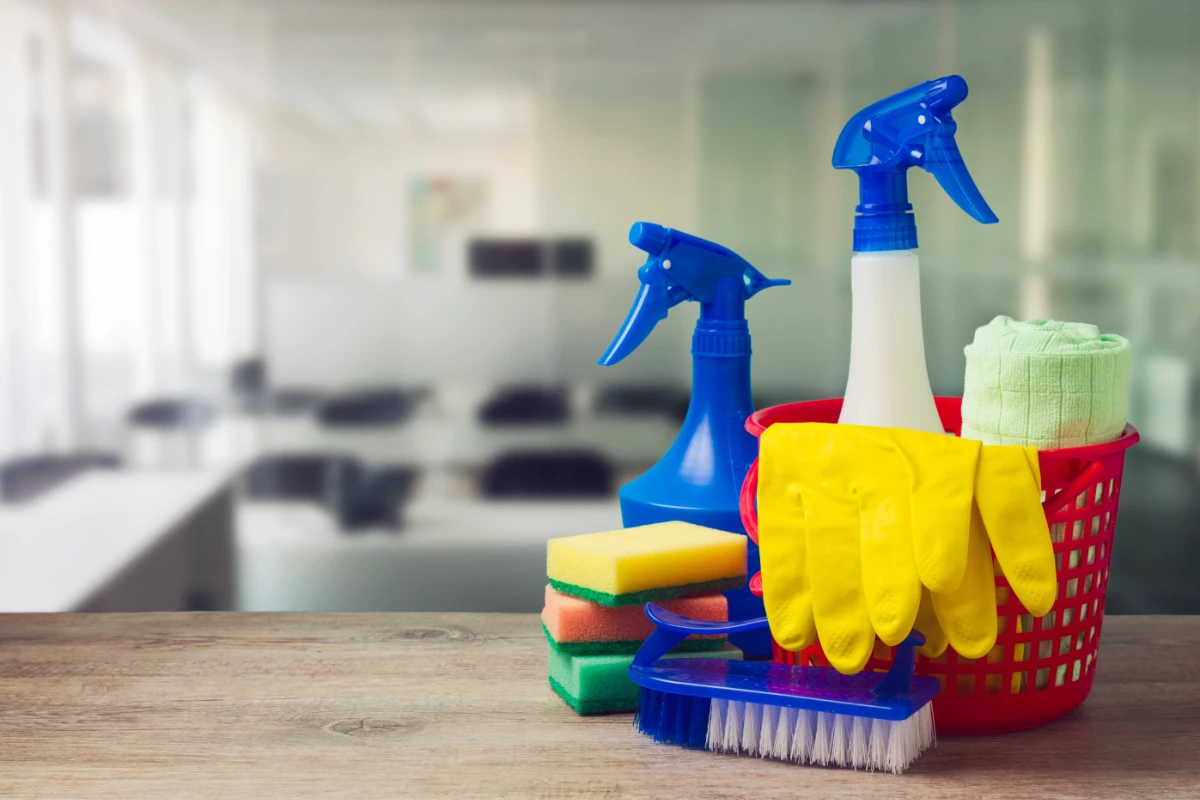
Before diving into your spring cleaning project, gather these basic supplies that will serve you throughout your entire home:
- All-purpose cleaner: The workhorse of your cleaning arsenal, effective for most surfaces in kitchens, bathrooms, and living areas.
- Microfiber cloths: These trap dust better than paper towels and can be washed and reused.
- Vacuum cleaner: For floors, furniture, and hard-to-reach corners.
- Mop: For tile, vinyl, or hardwood floors (use appropriate cleaners for your specific flooring).
- Glass cleaner: For mirrors, windows, and glass surfaces.
- Bathroom cleaner: Specifically formulated to tackle soap scum and bathroom grime.
- Rubber gloves: Protect your hands from harsh chemicals and hot water.
- Scrub brushes: Different sizes for various cleaning tasks.
- Storage bins: For organizing items while decluttering.
Beginners don’t need expensive specialty products – these basics will handle most home decluttering tips and cleaning needs. For a budget-friendly, non-toxic alternative, white vinegar diluted with water works wonders on many surfaces, while baking soda makes an excellent scrubbing agent for tough stains.
Step-by-Step Room-by-Room Guide
Start with the Kitchen: High-Impact Cleaning
Estimated time: 2-3 hours
The kitchen typically requires the most attention during spring cleaning:
- Clear and clean inside refrigerator (30 min) • Remove all items, discard expired food • Wipe down shelves and drawers with all-purpose cleaner • Clean rubber gaskets around doors
- Deep clean oven and stovetop (30-45 min) • Remove and soak burner grates if applicable • Use oven cleaner or baking soda paste for stuck-on residue • Clean range hood and filter
- Declutter and organize pantry (30 min) • Check expiration dates • Group similar items together • Consider clear containers for staples
- Clean small appliances (20 min) • Descale coffee maker with vinegar solution • Clean microwave interior (tip: heat bowl of water with lemon for 2 minutes to loosen grime)
- Wipe down cabinet exteriors and handles (15 min)
- Often forgotten: Clean under and behind appliances where crumbs and dust accumulate
Refresh Your Bathroom: Sanitizing Surfaces
Estimated time: 1-2 hours per bathroom
- Deep clean toilet (15 min) • Use toilet bowl cleaner under the rim • Disinfect handle, base, and surrounding floor
- Scrub shower/tub (30 min) • Remove shower curtain/liner for washing if fabric • Clean grout with brush and appropriate cleaner • Descale showerhead with vinegar solution in plastic bag
- Clean and organize medicine cabinet (15 min) • Dispose of expired medications properly • Wipe down shelves and reorganize
- Clean mirrors and fixtures (10 min) • Use glass cleaner for streak-free mirrors • Polish faucets and handles
- Often forgotten: Exhaust fan grill – remove dust to improve functionality and prevent moisture issues

Transform Your Living Room: Decluttering Common Areas
Estimated time: 1-2 hours
- Dust from top to bottom (20 min) • Start with ceiling corners, light fixtures • Work down to shelves, surfaces, and baseboards
- Vacuum upholstery and under cushions (15 min) • Remove cushions to access crumbs and lost items • Use upholstery attachment on furniture
- Clean electronics and remotes (10 min) • Use appropriate electronics cleaner or microfiber cloth • Pay attention to frequently touched buttons
- Wash or clean window treatments (30 min) • Vacuum fabric curtains or blinds • Launder washable curtains according to instructions
- Often forgotten: Baseboards and door frames which collect significant dust
Reset Your Bedroom: Creating a Peaceful Space
Estimated time: 1-2 hours
- Wash all bedding including mattress pad and pillows (if washable) (45 min) • Check care labels for special instructions • Consider refreshing pillows that can’t be washed with time in the sun
- Rotate and vacuum mattress (15 min) • Sprinkle baking soda before vacuuming to deodorize
- Declutter nightstand and dresser tops (15 min) • Keep only essentials within arm’s reach • Create homes for items that tend to accumulate
- Clean under the bed (15 min) • Remove stored items, dust, and vacuum
- Often forgotten: Ceiling fan blades which collect dust that falls onto your bed when the fan is turned on
Don’t Forget: Entryway, Hallways, and Closets
Estimated time: 1-2 hours total
- Organize and clean entryway (30 min) • Sort through shoes and seasonal items • Wipe down or vacuum entry mats
- Dust and clean light fixtures in hallways (15 min)
- Declutter coat closet (30 min) • Remove out-of-season items for storage • Assess which items haven’t been used in a year
- Clean inside other closets (30 min per closet) • Vacuum or mop floors • Wipe down shelving
- Often forgotten: Door knobs and light switches which harbor germs and fingerprints
Common Spring Cleaning Mistakes to Avoid
As you work through your room by room cleaning, watch out for these beginner pitfalls:
- Starting without a plan Many beginners dive in without mapping out their approach, leading to scattered efforts and incomplete rooms. Solution: Follow this checklist and complete one room before moving to the next.
- Using the wrong cleaning products on surfaces Using harsh chemicals on wood or natural stone can cause damage. Solution: Always check manufacturer recommendations and test products in inconspicuous areas first.
- Cleaning windows on sunny days The heat causes glass cleaner to dry too quickly, leaving streaks. Solution: Clean windows on overcast days or when that side of the house is in shade.
- Forgetting to work top-to-bottom Cleaning floors before dusting means you’ll need to clean them twice. Solution: Always start at the ceiling and work your way down in each room.
- Trying to do everything in one day This leads to exhaustion and cutting corners. Solution: Break your cleaning into manageable sections using one of the scheduling approaches below.
Make It Manageable: Scheduling Your Cleaning
Choose the scheduling approach that matches your lifestyle:
Weekend Warrior (2-day intensive plan)
- Saturday: Kitchen, bathrooms, and laundry
- Sunday: Living areas, bedrooms, and finishing touches
- Best for: Those with busy weekday schedules who prefer to get it all done at once
One-Room-Per-Day Approach (7-day plan)
- Monday: Kitchen
- Tuesday: Main bathroom
- Wednesday: Living room
- Thursday: Main bedroom
- Friday: Guest bedroom/office
- Saturday: Additional rooms/spaces
- Sunday: Entryway and final touches
- Best for: Those who prefer focused efforts without exhaustion
Gradual Approach (30 minutes daily for 2 weeks)
- Focus on one small task or area each day
- Combine like tasks across rooms (e.g., all dusting one day)
- Best for: Those with limited energy or time who prefer steady progress
Download Spring Cleaning Checklist
✅ ✅ ✅ Download our Spring Cleaning Checklist Printable
Frequently Asked Questions
Most homes benefit from a thorough deep cleaning seasonally (every 3-4 months), with kitchens and bathrooms potentially needing attention more frequently. Regular weekly maintenance makes these deep cleans much easier.
Always work from top to bottom and from dry to wet. Start with dusting ceiling fans and high shelves, then work down to furniture, and finally vacuum or mop floors. For bathrooms and kitchens, clean least dirty surfaces first and save the most soiled areas (toilet, oven) for last.
Implement a simple 15-minute daily tidying routine and address spills and messes immediately. Creating designated homes for commonly used items prevents clutter from accumulating. A weekly quick-clean of high-traffic areas will help maintain your hard work.
White vinegar diluted with water works well on many surfaces including glass. Baking soda makes an excellent scrubbing agent. Lemon juice cuts through grease and leaves a fresh scent. Essential oils like tea tree, lavender, or lemon can be added to homemade cleaners for antibacterial properties.
Make it an event with clear expectations, assigned tasks based on ability, and perhaps a reward at the end. For children, turn cleaning into a game with a timer or scavenger hunt. Playing upbeat music helps everyone stay motivated.
Mastering Your Spring Cleaning Routine
A thorough spring cleaning doesn’t have to be intimidating, even for beginners. By breaking down the process room by room and following our checklist, you’ve transformed what seemed like an overwhelming project into a series of manageable steps.
Remember that the goal isn’t perfection but progress. Even completing a few of these tasks will make a noticeable difference in how your home looks and feels. Each cleaning session builds your skills and efficiency for the next time.
Now that you’ve mastered the basics of a systematic home reset, you’ve added valuable life skills to your repertoire. This is exactly what our 1stGear philosophy is all about: breaking down complex tasks into manageable first steps that build toward mastery.